Getting Started with Pay-As-You-Go & Rate Plans
Step 1: Add a new contract to Azure Costs
Azure Costs allows you to add as much contracts as you need by just clicking the "Add" button in the toolbar. If it is your first contract, Azure Costs redirects you to this page automatically right after your login.
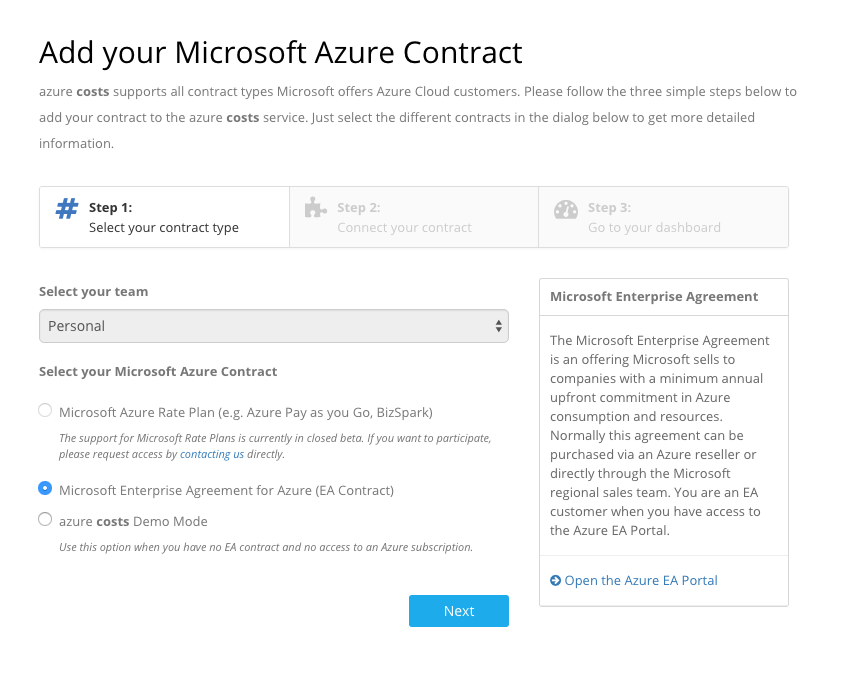
Please select "Microsoft Azure Rate Plan (e.g. Azure Pay as you Go, Bizspark)" to add your Azure subscription which was not purchased via an Enterprise Agreement.
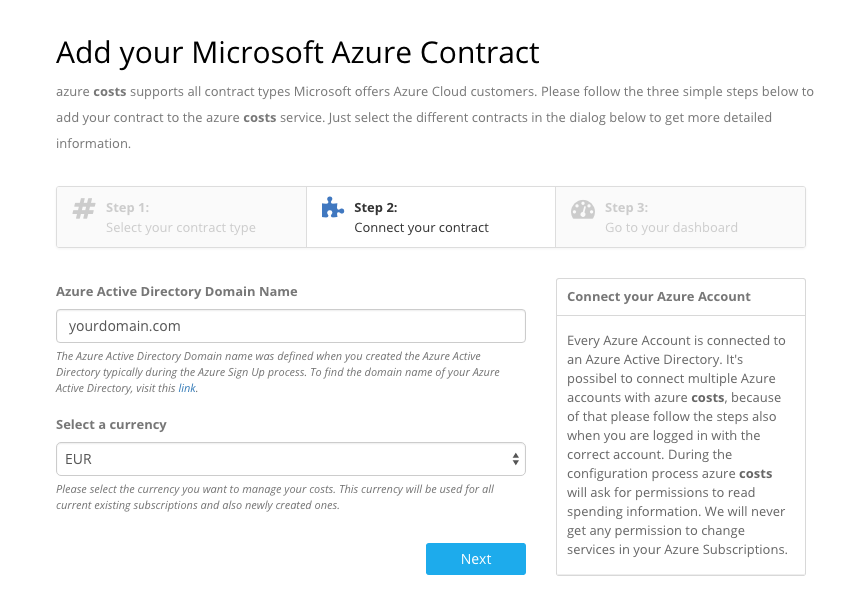
Step 2: Enter your Azure Active Directory Domain and currency
In the next step please enter your Azure Active Directory domain and a currency you would like to manage your spendings in. How to figure out the right Azure Active Directory Domain name is described here.
Step 3: Grant permissions to Azure Costs
After step 2 the system redirects you directly to the Azure Active Directory approval process. It's necessary for Azure Costs to get read-only access to your Azure account.
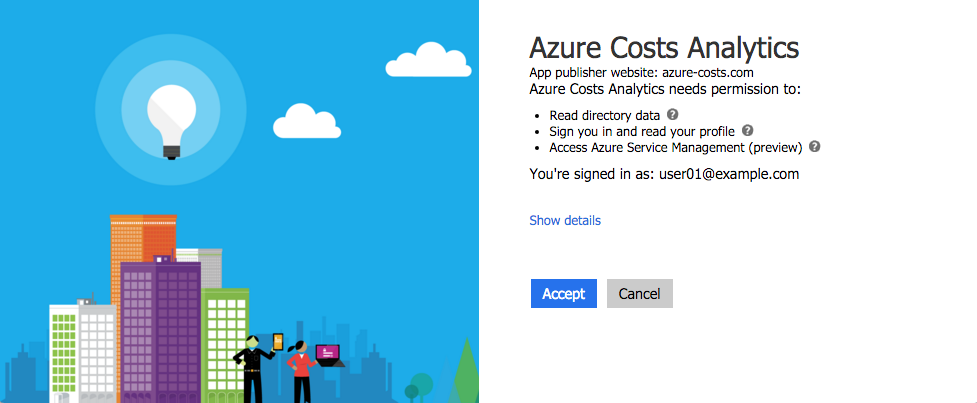
Please accept the request for approval and proceed.
Step 4: Assign "Reader" permission to every subscription
It's necessary to apply reader permissions on a subscription level, otherwise Azure Costs can't process spending information. After step 3 you should see all subscriptions in the contract wizard as shown below.
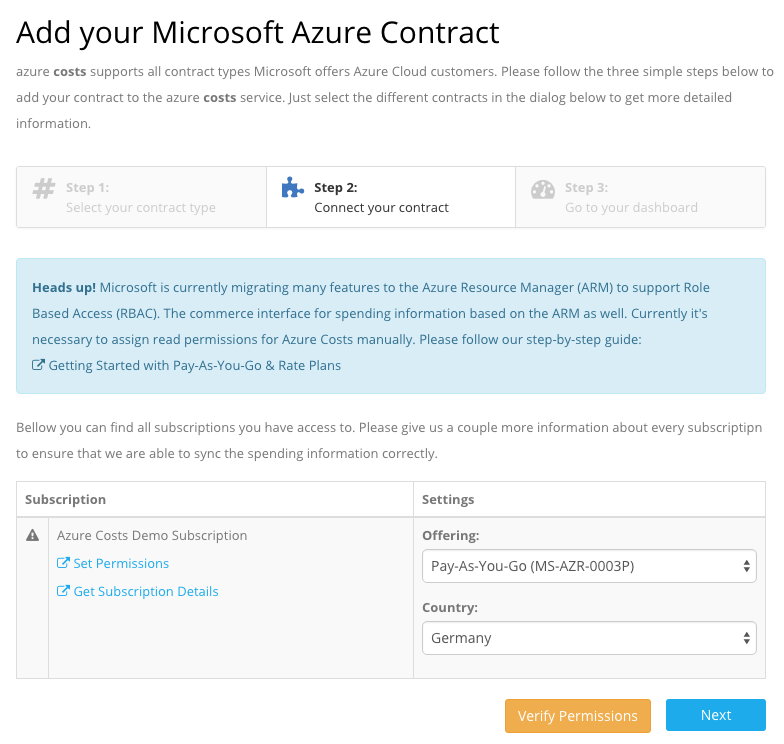
You can verify the correct permissions of the subscriptions with the "Verify Permissions" button. If you see an exclamation mark in front of a subscription, please follow the process described here to add "Reader" permissions.
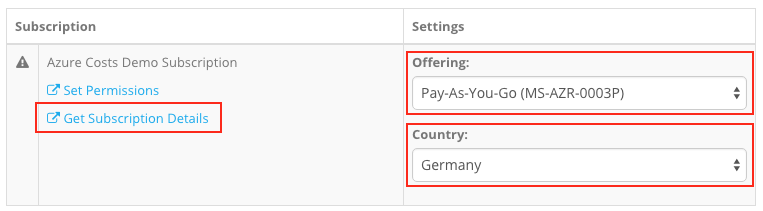
Step 5: Specify detailed information for every subscription
Last but not least Azure Costs needs the information what offering you are using from Microsoft. The offering ID can be found via the link "Get Subscription Details" and the country needs to be the country in which you purchased the subscription. Usually this is the country you are a resident of.
Step 6: Finish registration
When finishing the registration process it might take up to 15 minutes until the initial sync is done. Just refresh the dashboard several times to see incoming data.